
Last updated November 20, 2026
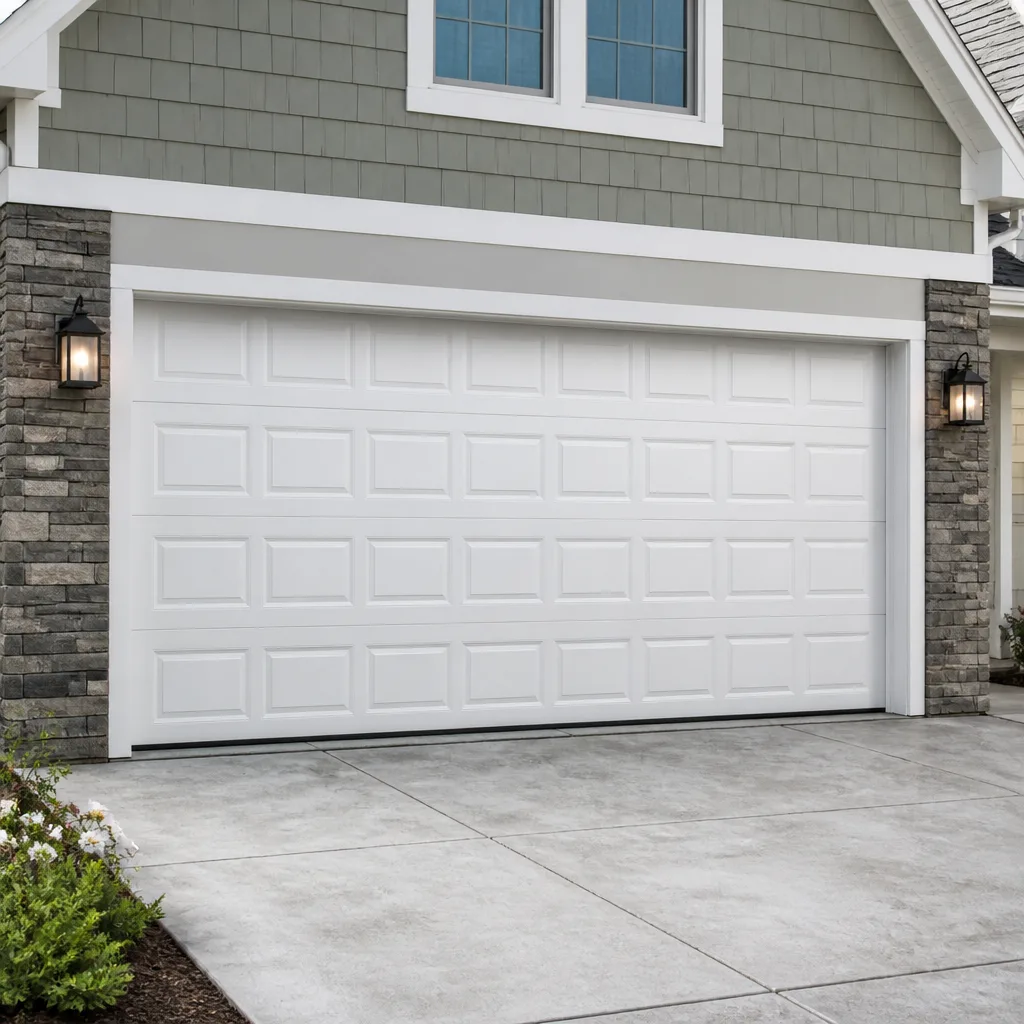 Raised-panel steel
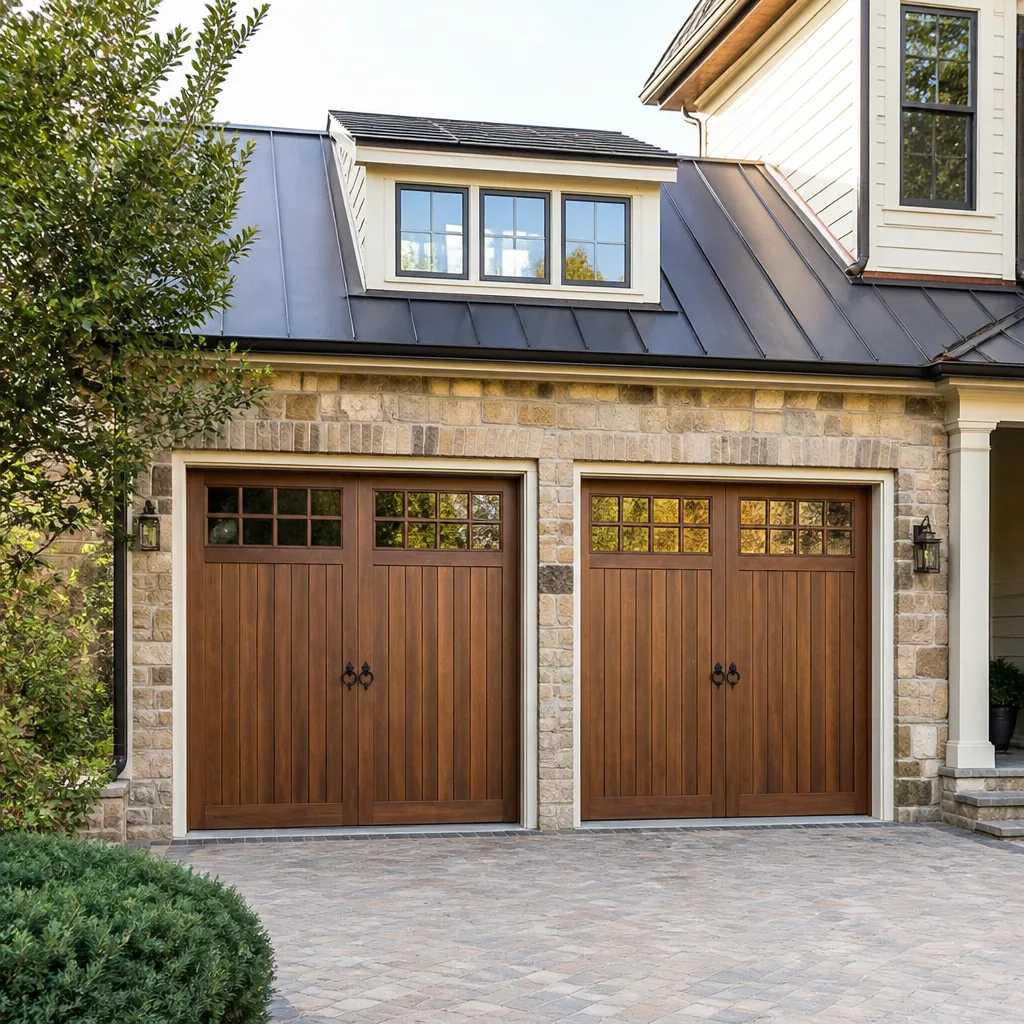 Carriage house
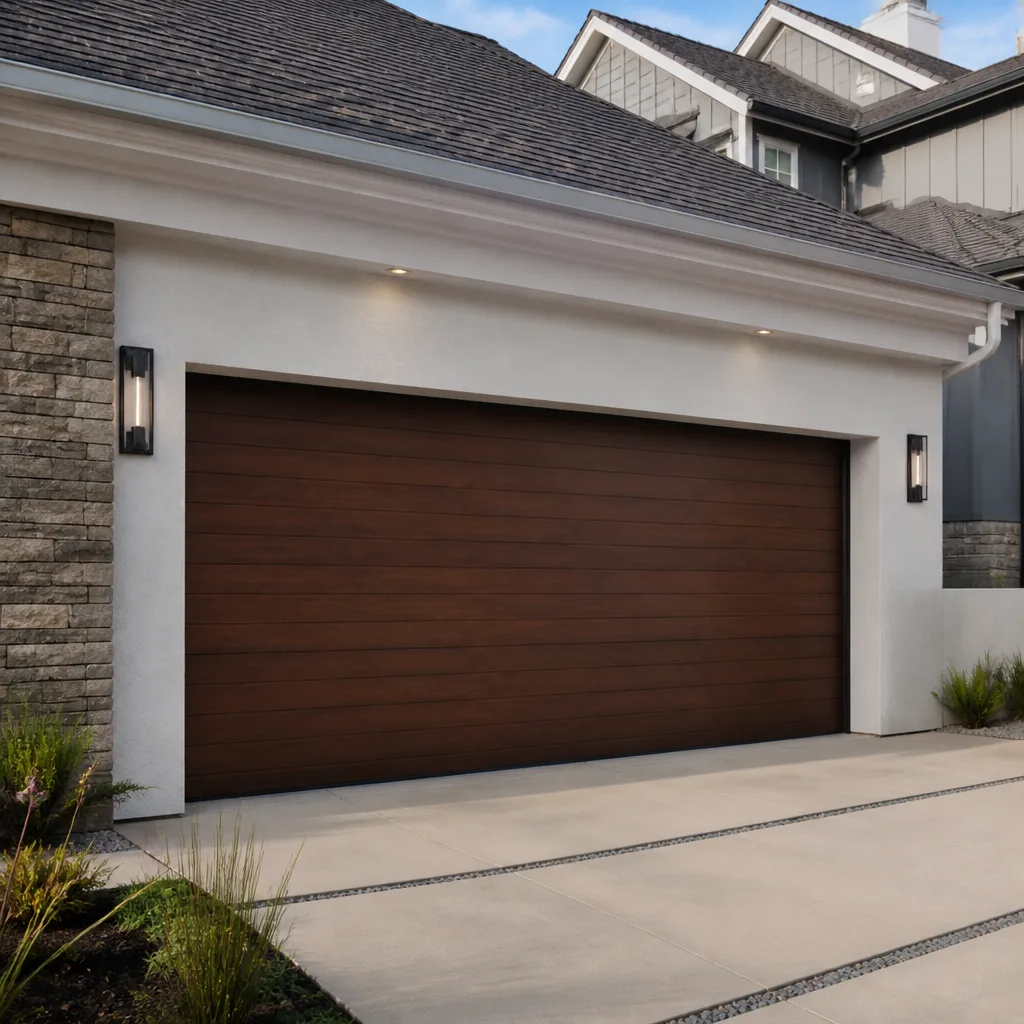 Modern flush
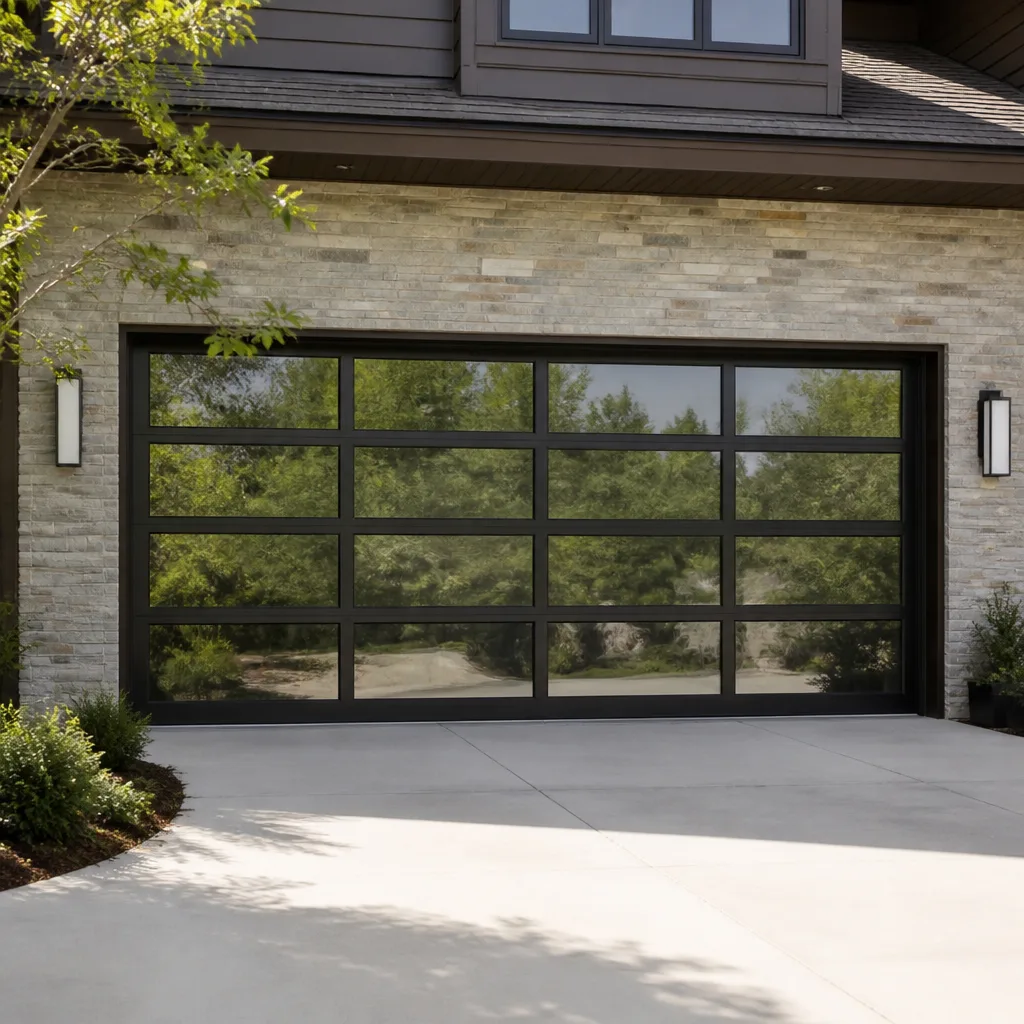 Full-view glass
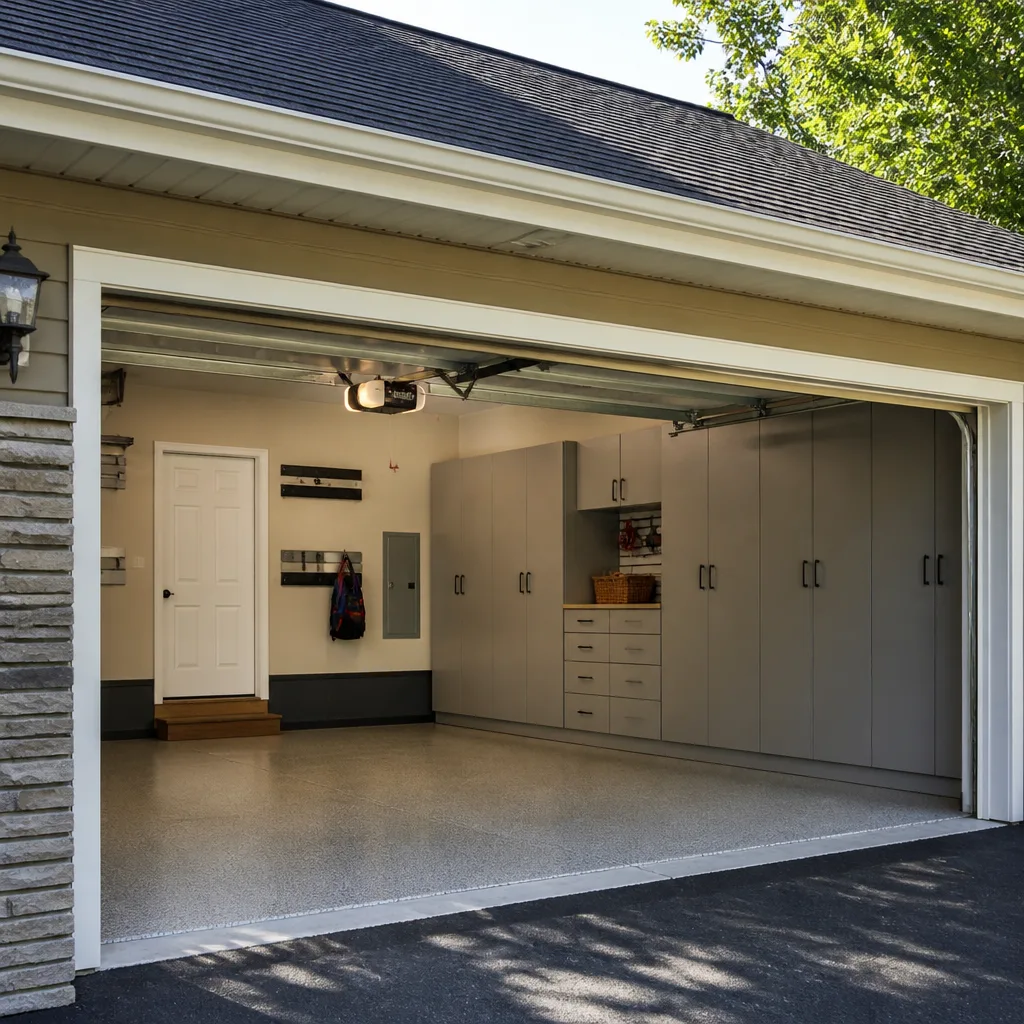 LiftMaster openers
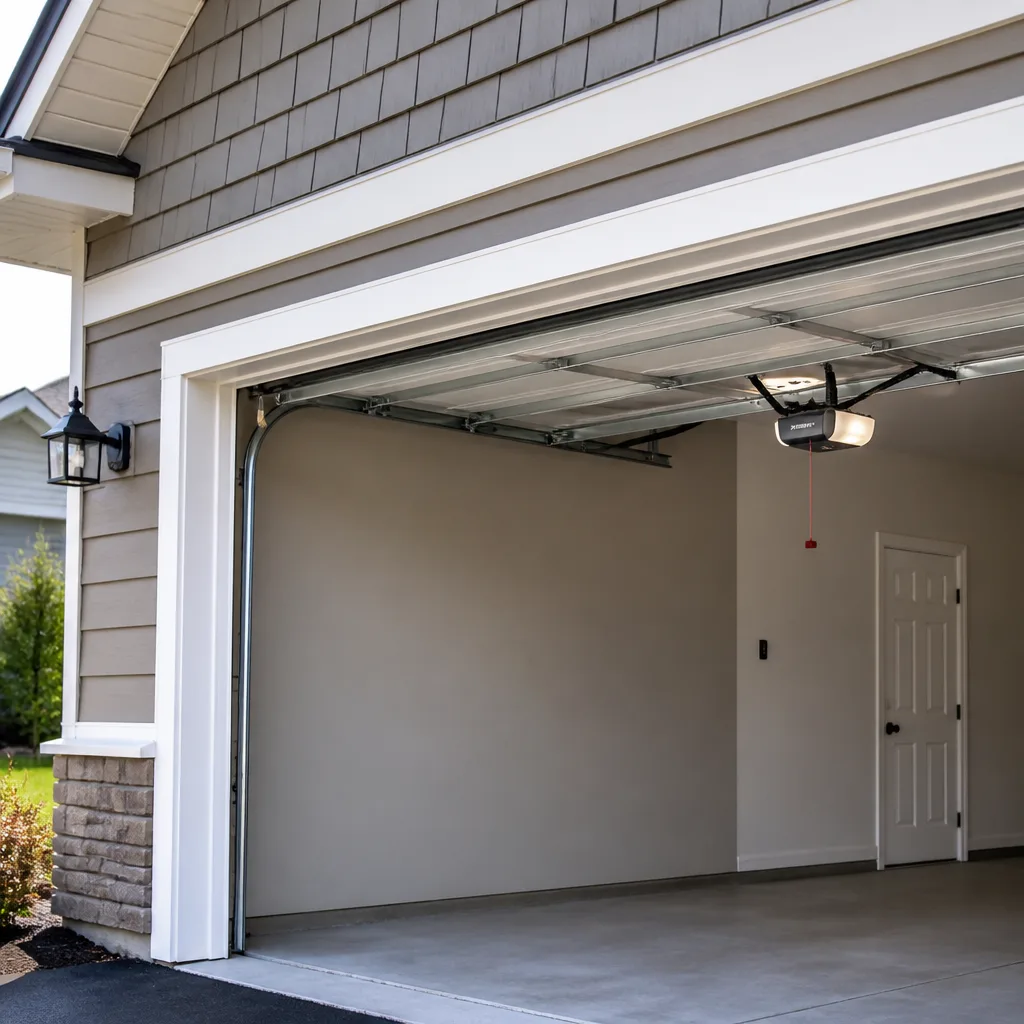 Chamberlain openers
Full 25-point door and opener safety check with every visit - springs, cables, rollers, tracks, and your LiftMaster or Chamberlain opener included
You get a price before we start. It does not change when the pro arrives.
Get your free estimateGarage Door Repair Maintenance Checklist for Price Hill Homeowners
A loose hinge bolt takes less than a minute to tighten. Ignoring it can wear the hinge, stress the panel, and speed up the day the door stops lifting straight. That’s the maintenance math most homeowners never see laid out plainly. Most garage door failures we’re called out for in Price Hill didn’t start as failures. They started as something small that nobody checked. This guide lays out exactly what to look at, how often, and with what, built around the specific conditions Price Hill garages deal with: alley-facing detached buildings, hard freeze-thaw swings, and older home wiring feeding modern openers. Follow it and you’ll catch most problems long before they turn into a call.
Quick Answer
A garage door maintenance checklist for Price Hill homeowners covers five things: a monthly visual inspection of springs, cables, rollers and hardware; lubrication every few months with a silicone- or lithium-based product (never a penetrating spray on nylon rollers); a spring tension check done by eye and ear only, never by hand; weatherstripping inspection before and after each freeze; and a monthly opener safety reversal and force test. Twenty minutes a month is enough to catch the majority of issues before they become emergency calls. Anything involving springs, cables, or the opener’s electrical supply should be handled by a trained technician.
Styles & brands we work with
- Raised-panel steel
- Carriage house
- Modern flush
- Full-view glass
- LiftMaster openers
- Chamberlain openers
Table of Contents
- Monthly Visual Inspection for Price Hill Garages
- The Right Lubrication Schedule (and the Wrong Products)
- How to Check Spring Tension Safely
- Cable Wear and the Cold-Snap Problem
- Weatherstripping and Cincinnati’s Freeze-Thaw Cycle
- Opener Safety Reversal and Force Tests
- Older Home Electrical and Opener Compatibility
- A Seasonal Maintenance Calendar for Price Hill
Monthly Visual Inspection for Price Hill Garages
Set aside twenty minutes once a month and walk the whole door, inside and out. The goal isn’t to fix anything. It’s to notice what’s changed since last month. Price Hill’s housing stock includes a lot of detached garages reached by alleys, and those buildings take weather differently than an attached garage. Snowmelt pools at the alley apron, rain runs off the roof above the door, and the bottom seal sits in that moisture for months. That’s where you’ll find the earliest signs of trouble.
Work through this list in order, top to bottom:
- Springs. Look at the torsion spring above the door or the extension springs along the sides. A visible gap or split in the coil means the spring has failed and the door should not be operated. Call a professional.
- Cables. Run your eyes down each cable, not your hands. Look for frayed strands, kinks, or rust streaks. A cable with broken strands can snap without warning.
- Rollers. Check each roller in its hinge bracket. Nylon rollers should look smooth and round. Steel rollers should spin freely. Flat spots, cracks, or a roller sitting crooked all point to replacement.
- Hinges and bolts. Wiggle each hinge. Any play means a loose fastener. Tighten with the correct wrench, not a pair of pliers.
- Tracks. Stand back and look down each vertical and horizontal track. They should be parallel and clean. Dents, bends, or debris in the channel mean the door will drag.
- Panels. Check for cracks, dents at the bottom edge, or separation between sections. On a Clopay or Amarr door, panel damage usually shows first at the bottom rail where moisture collects.
- Bottom seal. Get down low and look at the rubber seal across the floor. Gaps, tears, or a seal that’s stiff as a board all need attention.
If you find anything on this list that involves springs or cables, stop and call. Everything else you can usually address at your own pace.
The Right Lubrication Schedule (and the Wrong Products)
Lubricate your garage door’s moving metal parts every three to four months, and skip the nylon rollers entirely. That’s the short version. The longer version matters, because the wrong product does more damage than no product at all.
Here’s what to use and where:
- Hinges, pivot points, and the torsion spring coils: a white lithium grease or a silicone-based lubricant. A quick spray at each hinge pivot is enough. Don’t soak the parts.
- The torsion spring itself: a light coat along the coil reduces friction during operation. Never spray anything heavy or sticky here.
- Roller stems (not the roller wheel): one drop of light machine oil at each stem. The wheel face stays dry.
- Tracks: nothing. Tracks should be wiped clean with a dry cloth, not lubricated. Grease in a track collects grit and turns into an abrasive paste that wears the rollers down.
And here’s what to avoid, because hardware stores sell a lot of it:
- Penetrating oils and sprays (the kind sold for loosening rusty bolts). These strip the factory lubricant out of nylon rollers and leave plastic brittle. Nylon rollers should never be sprayed with anything. Replace them if they’re noisy.
- Heavy grease in the tracks or on the rollers. It gums up in cold weather and drags on the door.
- WD-40 as a general door lubricant. It’s a water displacer, not a long-term lubricant. It’ll quiet a squeak for a week and then things get worse.
On a Wayne Dalton or Craftsman door with steel rollers, a light machine oil at each roller stem every few months keeps them spinning smoothly. On nylon, silence is the goal, and the way to get silence is replacement, not spray.
How to Check Spring Tension Safely
You can check spring tension by eye and ear. You cannot check it by hand. That’s the line, and it exists for a reason. A torsion spring under tension stores enough energy to cause serious injury if it releases unexpectedly. Do not touch, adjust, or try to wind a garage door spring. Do not use a screwdriver, a wrench, or any tool to “test” it. Do not cut an extension spring or unhook it to see what happens. This is the single most dangerous component on a residential garage door, and it’s the reason our spring work is done by trained technicians, not by a homeowner with a YouTube video.
What you can safely check:
- Listen. Open and close the door from a normal standing position. A sharp bang, a metallic snap, or a sudden loss of balance means a spring issue. Stop using the door.
- Watch the door balance. Disconnect the opener (usually a pull cord or a lever on the rail). Lift the door by hand to about halfway, then let go gently. A balanced door stays put. A door that drops or rises on its own has a spring tension problem.
- Look for a visible gap. With the door closed and the spring under tension, look at the coil from a safe distance. A clear separation in the coil means the spring has broken.
- Check the safety cables on extension springs. Extension springs should have a steel cable running through the center, anchored to the bracket. If that cable is missing, kinked, or detached, the door is unsafe to operate.
If the door won’t stay at halfway, if you hear a bang, or if you see a gap in a spring coil, stop. Don’t operate the door again until a technician has looked at it. Call us at (855) 773-8249. We answer 24/7 and dispatch fast from 7am to 7pm, Sunday through Friday.
Cable Wear and the Cold-Snap Problem
Garage door cables wear faster in cold weather. Not because the cable itself gets weaker, but because the metal contracts, the tension changes, and a cable that was already fraying at one strand finally gives. In Price Hill, the first hard freeze of the season is when a lot of cable failures happen. The door worked fine in October and won’t lift in December. That’s not a coincidence.
Here’s what to look for during your monthly inspection:
- Frayed strands. A cable that looks like a frayed rope end is failing. One broken strand is a warning. Two or three is a call.
- Rust streaks. Rust on a cable means moisture is getting to it. On alley-facing detached garages in Price Hill, that’s common at the bottom of the door where splash from the alley apron hits the cable and drum.
- Kinks or birdcaging. A cable that’s been kinked and straightened won’t run smoothly through the drum. It’ll wear the drum and the cable together.
- Cable drums. Look at the drum where the cable winds. The cable should sit in the groove, not on top of it or doubled up. A cable that’s jumped the drum means the door is unsafe to operate.
Cables are under the same tension as springs and are just as dangerous if they fail while someone is working near them. Don’t try to re-seat a cable in a drum, and don’t try to replace a cable yourself. A cable that’s visibly frayed, kinked, or showing more than a strand or two of broken wire means it’s time for a trained technician to replace it before it snaps.
If your door won’t lift or won’t close evenly, that’s the moment for garage door repair, not a weekend project.
Weatherstripping and Cincinnati’s Freeze-Thaw Cycle
Cincinnati’s winters swing between freezing and thawing, often within the same week. That cycle is hard on garage door seals. Water gets into a crack, freezes overnight, expands, and pushes the seal open a little wider. Then it thaws, and the cycle repeats. By February, a bottom seal that looked fine in November can be cracked, stiff, and letting cold air and moisture into the garage.
Price Hill’s detached garages take the worst of it. An unheated detached building has no shared wall with the house, so the bottom seal sits directly on cold concrete and never gets a break from the freeze. That’s why we recommend inspecting every seal on the door twice: once in late fall before the first hard freeze, and once in early spring after the last one.
Check these seals:
- Bottom seal. Look for cracks, tears, a stiff texture, or gaps when the door is closed. A visible gap of more than a quarter inch along any part of the floor is a problem.
- Side and top seals. Run your hand gently along the outside edge (not near the springs). The seal should feel flexible and press against the frame. A seal that’s pulled away or stiff needs replacement.
- Bottom bracket and threshold. Check that the bottom seal is seated in the bracket and that the threshold under the door isn’t cracked or heaved from frost.
- Interior caulking. Look at the frame where it meets the wall. Cracks in caulk are where water gets behind the door trim.
Weatherstripping is one of the few things a homeowner can replace without special tools. If you’re not comfortable, a technician can do it during a regular service visit.
Opener Safety Reversal and Force Tests
The safety reversal test checks whether the door goes back up when it hits something. The force test checks whether the opener is pushing too hard or too soft. Both tests have a clear pass or fail. Run them once a month. It takes about two minutes total.
Safety Reversal Test
- Open the door to about four feet off the ground, using the wall button or remote.
- Place a solid object about two inches tall (a piece of wood, a brick, or a manufacturer-supplied test block) directly under the door’s path.
- Press the button to close the door.
- Pass: The door reverses within two seconds of contacting the object and returns to the open position.
- Fail: The door continues to press on the object, or stops without reversing. Do not use the door. Call a technician.
Force Test
- With the door open, hold the bottom edge of the door with both hands. Don’t pull, just hold.
- Press the button to close.
- Pass: The door stops or reverses when it meets resistance from your hands.
- Fail: The door keeps pushing against your hands with enough force that you can’t hold it. That means the opener is set too strong. Call a technician.
On a LiftMaster or Chamberlain opener with MyQ, there’s usually a small adjustment screw or a programming sequence for force and travel limits. Don’t adjust it by guesswork. A mis-set force limit is how doors come down on cars and people. On a Genie or Craftsman unit, the adjustment is usually a dial or a set of screws on the motor housing, and the same rule applies: it’s a technician’s job to set it correctly.
For anything wrong with the opener, this is the moment for garage door opener repair rather than adjusting the unit blindly.
Older Home Electrical and Opener Compatibility
A lot of Price Hill homes have older electrical service feeding the garage. That doesn’t mean the wiring is bad. It means the garage circuit is often on a shared run with outdoor lights, a freezer, or a workshop outlet, and a modern opener with smart-home features draws a little more than the old unit did. When a new opener cuts out intermittently, or a LiftMaster or Chamberlain unit keeps losing its Wi-Fi connection, the wiring is often the first thing we check.
What to look for during your inspection:
- Loose outlet or junction box. If the outlet the opener is plugged into wiggles or feels warm, stop and call an electrician. Electrical work is not something to handle under a garage door.
- Extension cords. An opener plugged into an extension cord is a fire risk. If the garage doesn’t have an outlet near the opener, have a licensed electrician add one.
- Tripped breaker. If the opener trips its breaker once, reset it and watch. If it trips again, stop and call.
- Smart-home features. Both major ecosystems, the LiftMaster/Chamberlain family and the Genie/Craftsman family, need a reasonably stable Wi-Fi signal at the opener. If your remote app drops out, the problem is often signal strength at the garage, not the opener itself.
An electrical panel, an exposed wire, or a warm outlet behind an opener should never be handled by a homeowner. That’s a licensed electrician’s job, and it’s worth a call before anything else.
If your opener is at the end of its life and the wiring is fine, we can walk through options for garage door installation and put a written price together for the whole job.
A Seasonal Maintenance Calendar for Price Hill
A monthly routine handles the day-to-day. Add these seasonal checks and you’ll cover the conditions that change throughout the year in Price Hill and the surrounding neighborhoods.
- Spring (March – May). After the last freeze, inspect the bottom seal and weatherstripping for cracks from the thaw. Wipe tracks clean of winter grit. Run the safety reversal and force tests.
- Summer (June – August). Clean and lubricate hinges, rollers, and springs. Check the outside of the door for sun damage on the finish, especially on steel doors like Clopay and Amarr.
- Fall (September – November). Before the first hard freeze, inspect for cable fraying, check weatherstripping flexibility, and lubricate everything you haven’t touched in a few months. This is the most important check of the year for a detached alley-facing garage.
- Winter (December – February). Monthly visual inspection, plus a spring balance check. Listen for a bang on cold mornings. Keep the alley apron clear so the door doesn’t sit in pooled water.
If the door is at the end of its useful life, winter is a good time to plan for a spring installation so you’re not dealing with a failing door in summer heat.
Common Mistakes to Avoid
- Spraying nylon rollers with WD-40 or a “garage door lubricant” that contains a penetrating oil. This is the single most common mistake we see. Nylon rollers don’t need lubricant, and the spray makes them brittle and noisy. Replace them if they squeak; don’t try to silence them.
- Adjusting the opener force limit by feel. A door that “seems right” can still be pushing hard enough to hurt someone or damage a car. Follow the pass/fail tests, and leave the settings to a technician.
- Reaching up to re-seat a cable in a drum. Cables are under the same tension as springs. If a cable has jumped its drum, the door is not safe to touch. Call a pro.
- Painting over or ignoring rust on an alley-facing garage door. Rust on a panel or a cable is a sign that water is getting in. Ignoring it doesn’t stop it, and it’s the reason a door that worked in October won’t lift in January.
- Replacing only one spring on a two-spring door. Matched springs are usually replaced together because they wear at the same rate. A single spring replacement leaves you with an out-of-balance door.
- Using generic hardware-store parts on a door made by a specific manufacturer. On a Wayne Dalton, Clopay, Amarr, or Craftsman door, the right part matters. Generic rollers and hinges often wear faster and put stress on the tracks.
- Running a door that won’t stay up, won’t stay down, or reverses for no reason. That’s a call for a technician, not a workaround. Operating a door in that condition risks the spring, the cable, or the opener, and often all three.
See the difference
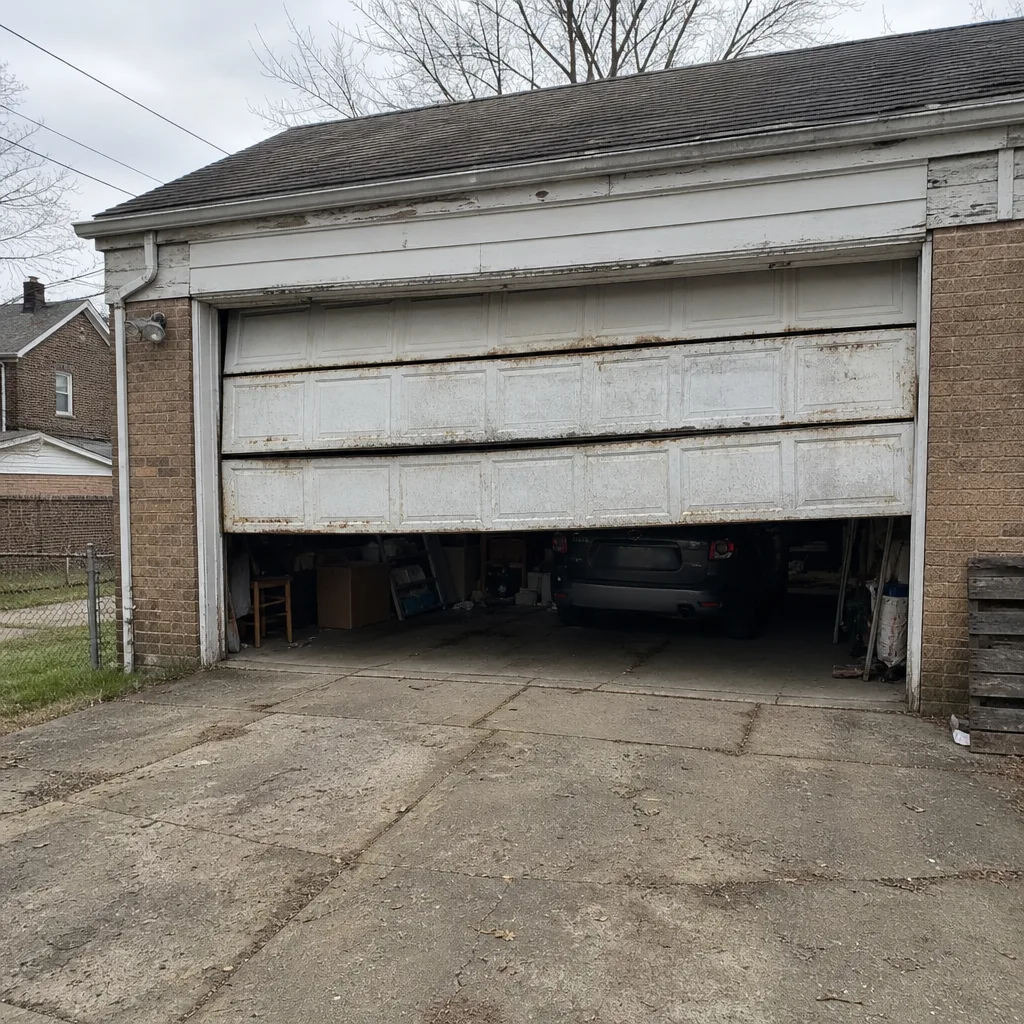 Before
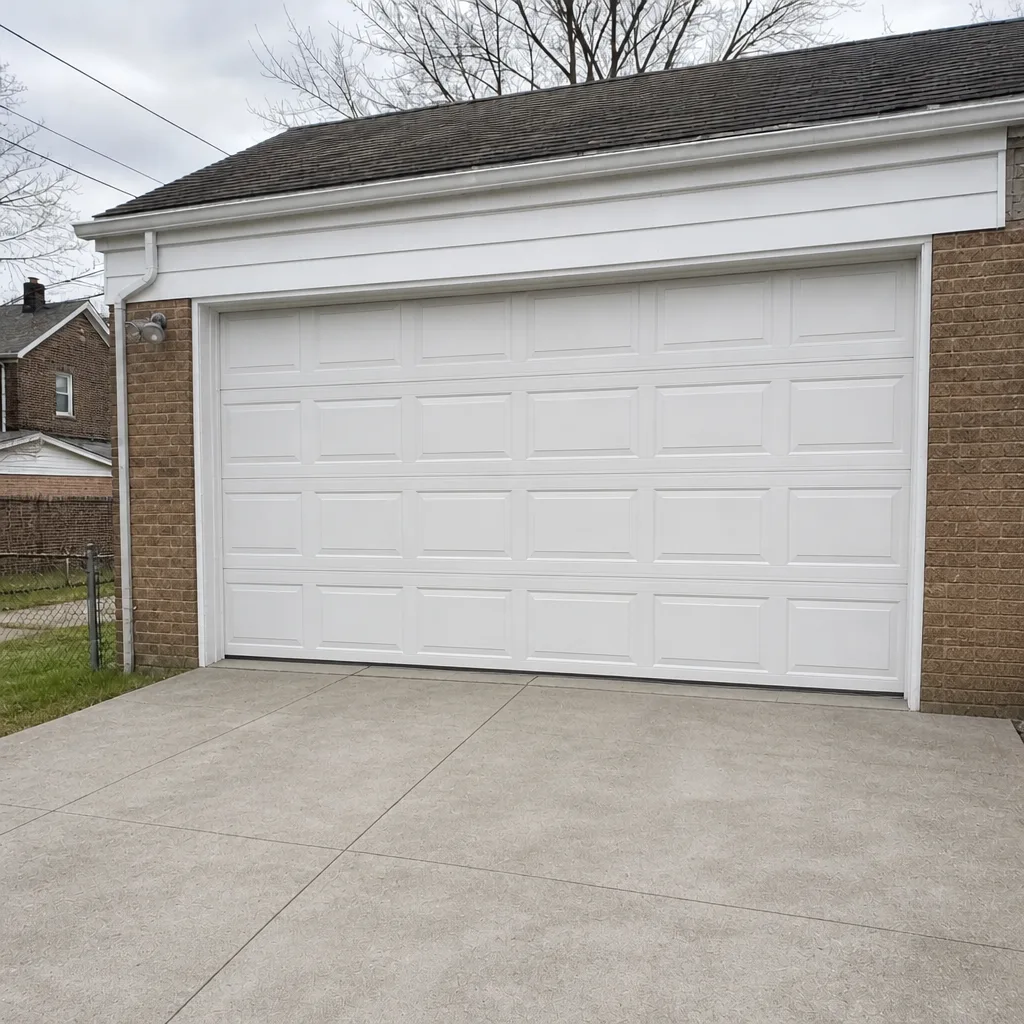 After
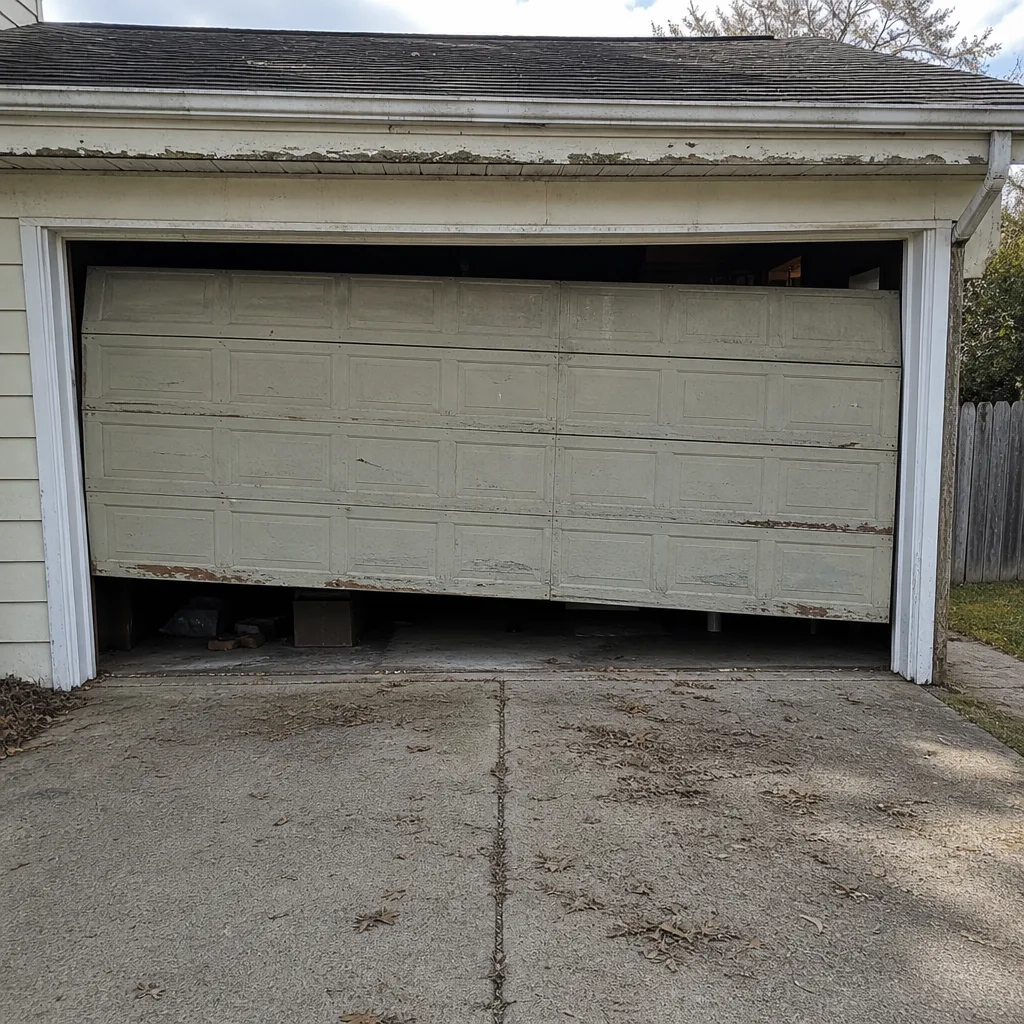 Before
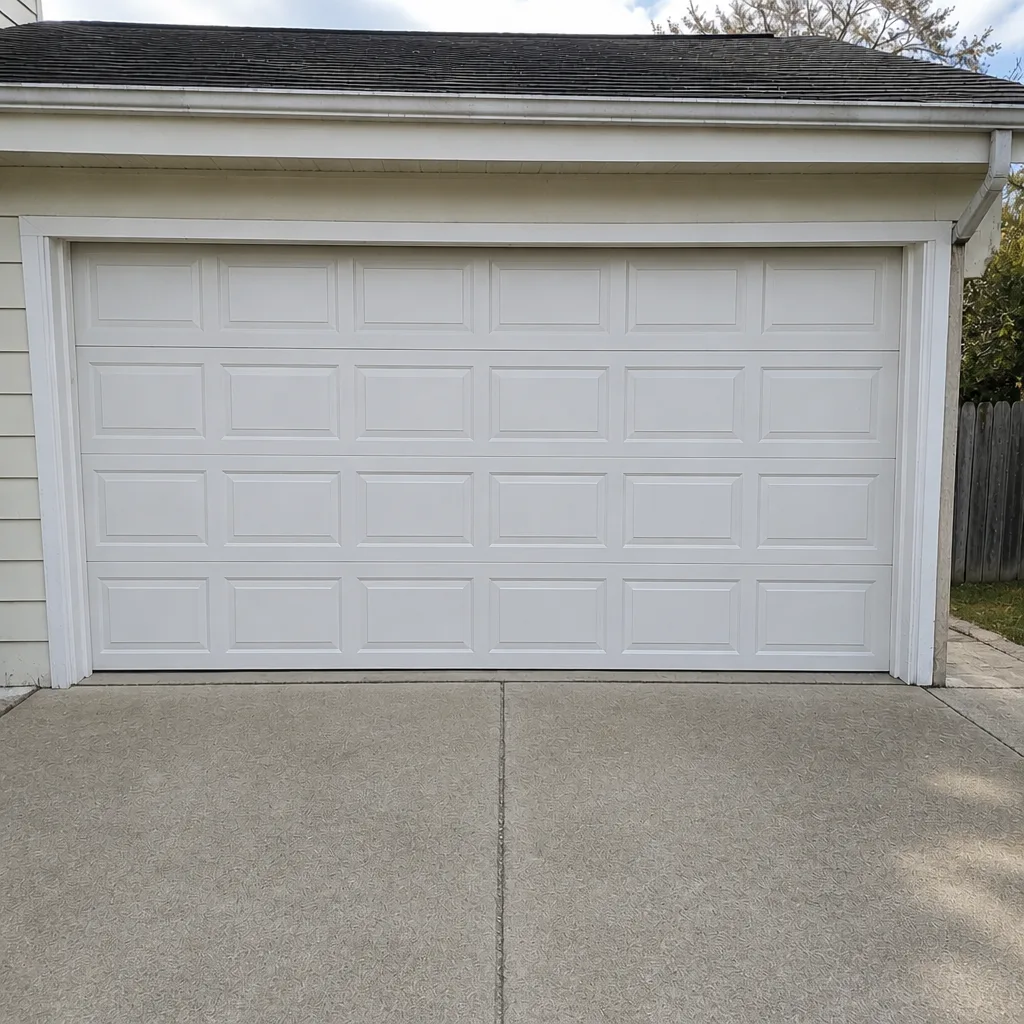 After
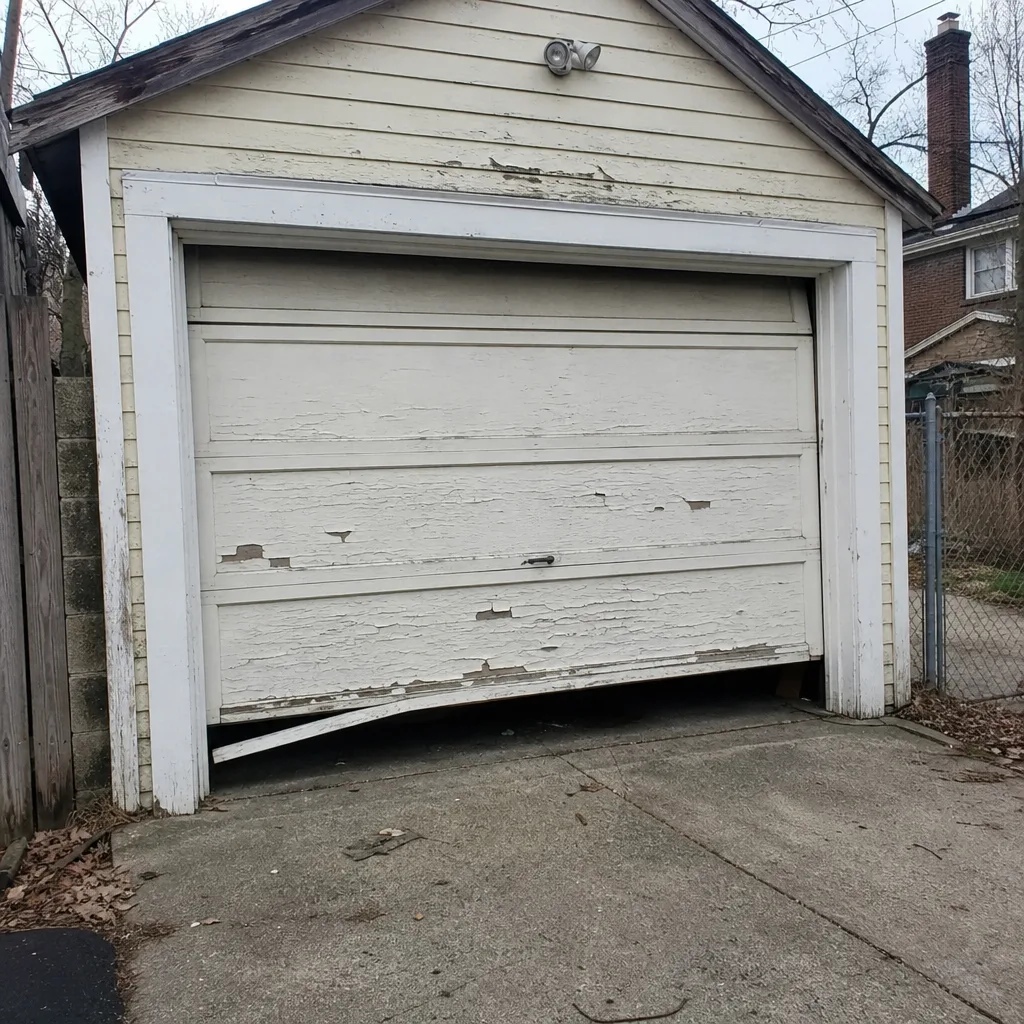 Before
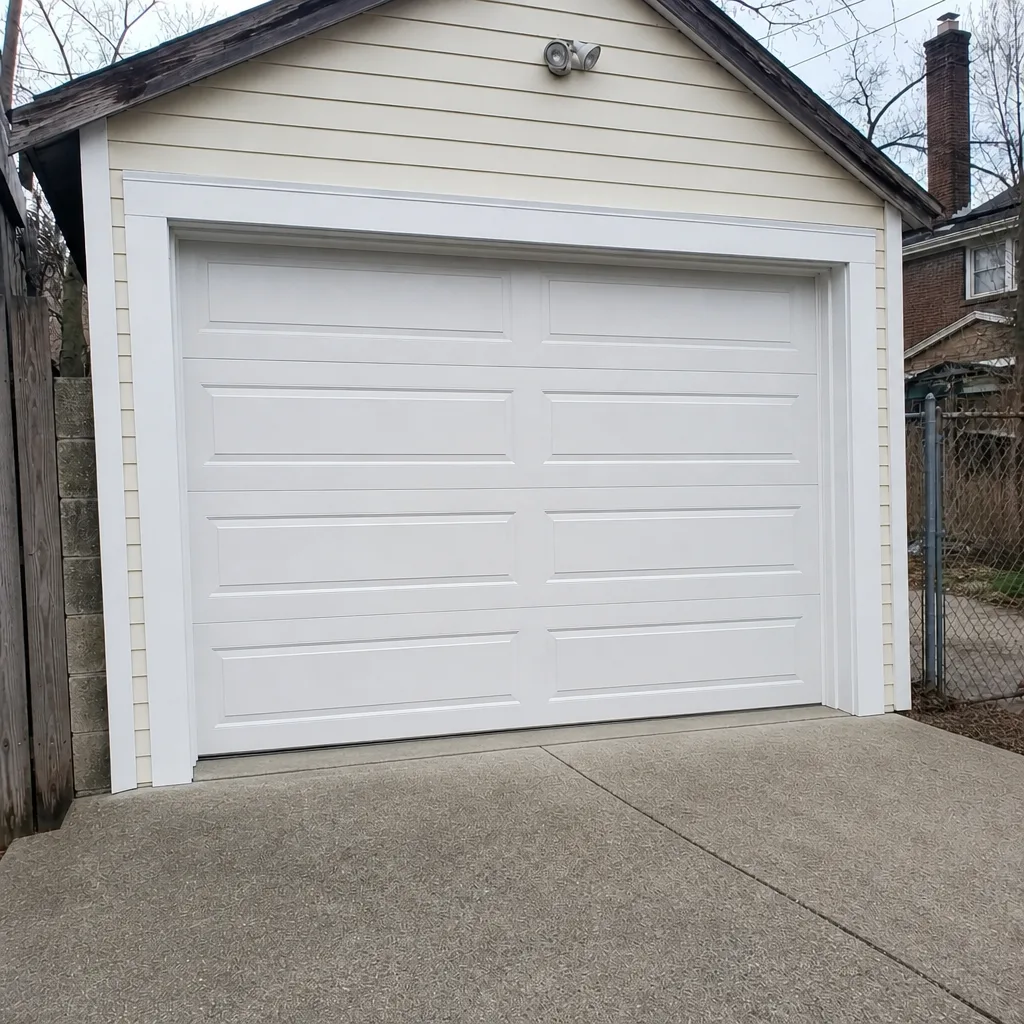 After
When to Call a Professional
Call a technician if you see a visible gap in a torsion spring, a broken or kinked cable, a door that won’t stay at halfway, a bottom seal that’s torn or letting in water, a safety reversal or force test failure, a loose outlet or warm wiring at the opener, or a door that’s making new noises that weren’t there last month. Any of those is a reason to stop operating the door and get it looked at. Springs and cables are the parts of the door most likely to hurt someone when handled incorrectly, and both should always be handled by a trained technician.
Garage Door Repair Price Hill works on LiftMaster, Chamberlain, Genie, Clopay, Amarr, Wayne Dalton, Craftsman, and Raynor systems, and our technicians have up to 15 years of experience diagnosing by brand, not by guesswork. Estimates are free, and the local pro is licensed and insured as their state requires. Call (855) 773-8249. We answer 24/7 and dispatch fast from 7am to 7pm, Sunday through Friday.
Frequently Asked Questions
Do a monthly visual inspection and a monthly opener safety reversal and force test. Lubricate the moving parts every three to four months, and inspect the weatherstripping twice a year, once before the first freeze and once after the thaw. That cadence catches most problems long before they turn into emergency calls.
Use a white lithium grease or a silicone-based lubricant on the hinges, pivot points, and spring coils. Use a light machine oil at the roller stems. Never use a penetrating spray on nylon rollers, and never grease the tracks; wipe them with a dry cloth instead. Call (855) 773-8249 if you’re not sure what’s on your door.
No. A torsion spring is under enough tension to cause serious injury if it releases, and it’s the single most dangerous part of a residential garage door. Don’t try to adjust, wind, cut, or unhook a spring. Leave spring work to trained technicians, and call us if you see a gap in a spring coil or hear a bang.
Cincinnati’s freeze-thaw cycle is hard on seals and cables. Water gets into small cracks, freezes, expands, and widens them, and metal contracts in the cold, which puts extra tension on cables that are already wearing. That’s why we recommend a full inspection before the first hard freeze and again in early spring.
Open the door to about four feet, place a two-inch object under the path, and press close. If the door reverses within two seconds, it passes. If it keeps pressing, it fails, and you should stop using the door and call (855) 773-8249 for a technician to adjust or repair the opener.
We service the eight most-installed residential brands: LiftMaster, Chamberlain, Genie, Clopay, Amarr, Wayne Dalton, Craftsman, and Raynor. That covers the vast majority of doors and openers we see across Price Hill. Call (855) 773-8249 and tell us the brand on the door or the opener; we’ll confirm before booking.
The Bottom Line
Twenty minutes a month of looking, listening, and testing covers the majority of garage door problems before they become emergency calls. Inspect the springs, cables, rollers, and seals. Lubricate the right parts with the right products. Test the opener every month. Never touch a spring or a cable yourself. It’s a simple routine that adds up to years of reliable operation on a Price Hill garage door, whether it’s a LiftMaster opener on a Clopay door or a Craftsman unit on an older Wayne Dalton panel. When something on the checklist fails, call a professional rather than working around it. That’s the real maintenance math: a few minutes now, a lot fewer dollars later.
If anything on this checklist has you reaching for the phone, call (855) 773-8249 for a free estimate. Garage Door Repair Price Hill is here for the routine checks and the emergencies alike. We answer 24/7, with fast dispatch from 7am to 7pm, Sunday through Friday. Prices are quoted and agreed before any work starts, so you’ll know the final number before a technician touches a single bolt.
Written by the team at Garage Door Repair Price Hill.